What is RunJS?
RunJS is a rapid prototyping tool for JavaScript and TypeScript. It can be used as a playground or scratchpad to write and run code. The result of your code is then displayed next to the code you've written.
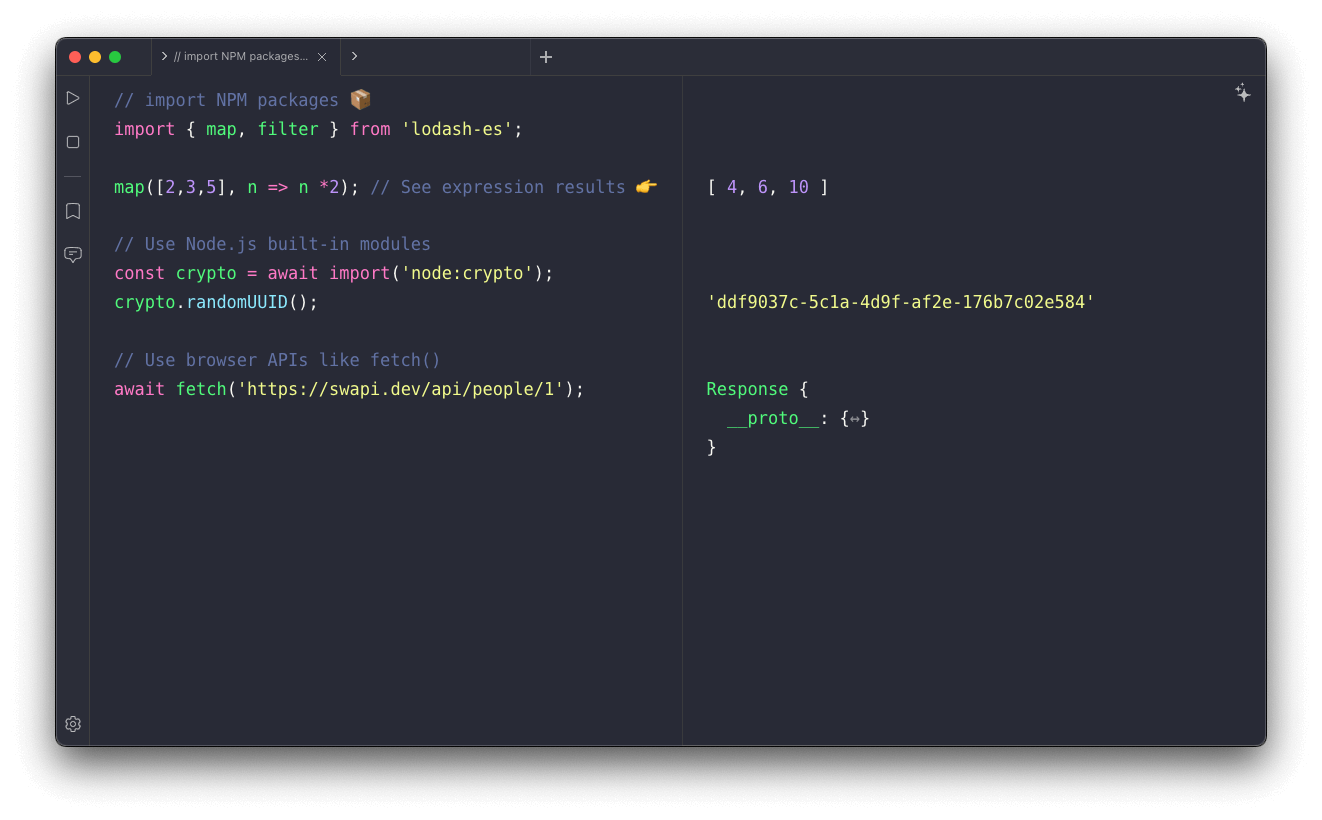
RunJS runs your code in a hybrid environment with access to both Node.js objects, built-in modules, and also web/browser APIs. This means that in addition to general programming tasks, you can use RunJS for backend-centric things like running a server or querying a database, as well as frontend tasks like making music with the Web Audio API.
RunJS makes it easy to install NPM packages, so it's ideal for trying out or experimenting with libraries.

You can also save snippets and build a snippet library.

Insert snippets via autocomplete or via the snippets window.

Use Magic Comments to quickly see the value of any part of your code.
RunJS has numerous features that are intended to make your life easier when it comes to writing, prototyping, learning or debugging code. Please explore the docs here to learn more about what RunJS can do and how it can benefit you.