NPM Packages
The NPM Packages tool lets you install third-party libraries from the npm registry and use them in your code, without needing to set up a project on disk. Packages are shared across all of your tabs.
You can open the NPM Packages window from the Tools menu: Tools > NPM Packages.
Searching and installing
Type a package name into the search box. Results appear once you stop typing and are pulled from the npm registry, so anything published publicly is available.
To install a specific version, append @ and a semver range to the package name — for example, pad-left@1.2.3 for an exact version, or pad-left@^1.0.0 for the latest 1.x release. If you don't specify a version, the latest stable release is installed.

Click Add next to a result to install. Once installation finishes, the package is available immediately — no restart required — and can be brought into your code with either import or require:
import padLeft from 'pad-left'
// or
const padLeft = require('pad-left')
Scoped packages (e.g. @scope/name) are supported, as are packages that ship their own TypeScript types or have a corresponding @types/* package, which feed RunJS's autocomplete and hover info.
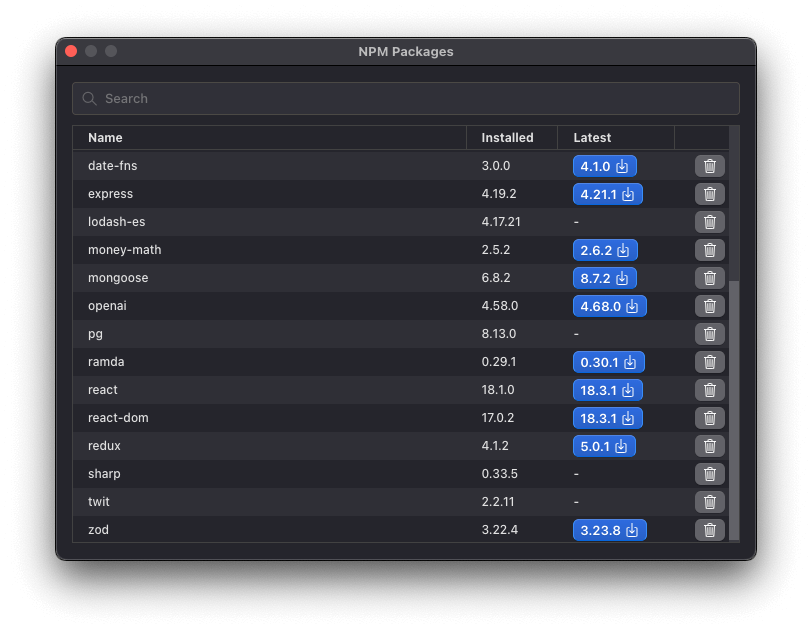
Updating and removing
Installed packages are listed in the main view of the NPM Packages window. From here you can update a package to a different version or remove it entirely. Removing a package frees the disk space it occupies and removes it from autocomplete; any code still importing it will fail to run until the package is reinstalled or the import is removed.
Configuration
If you need to install from a private registry, behind a proxy, or with custom authentication, configure these in the .npmrc file under Settings → NPM.