Web View
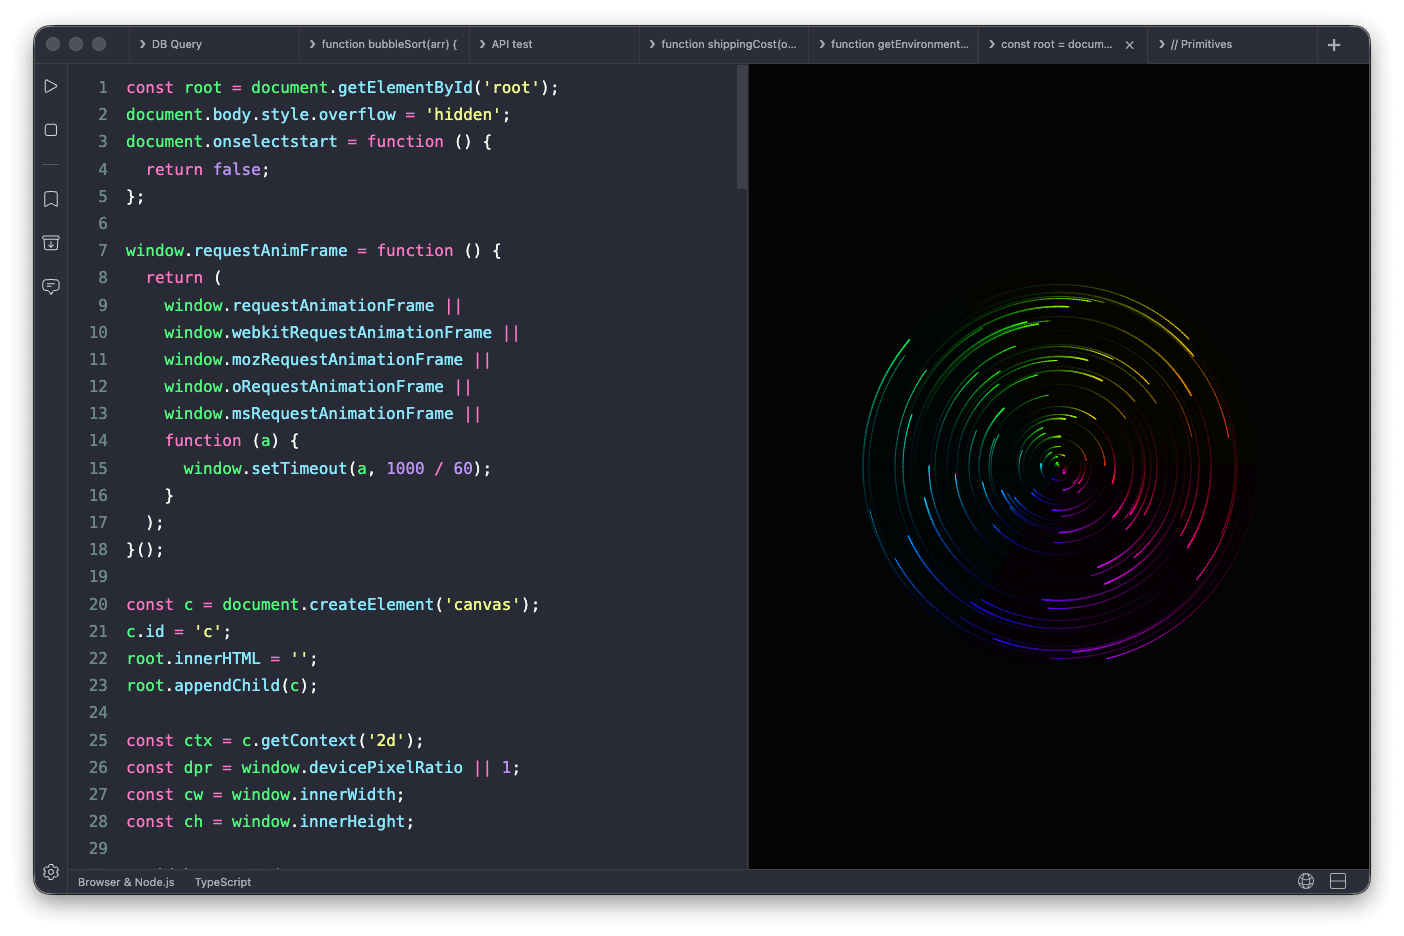
The web view is a live browser page inside the output pane. Anything your code puts into the DOM is rendered there, so the same tab you use for scripting also works for UI, canvas, and animation.
Turning it on
Toggle the web view with the web view button in the status bar.
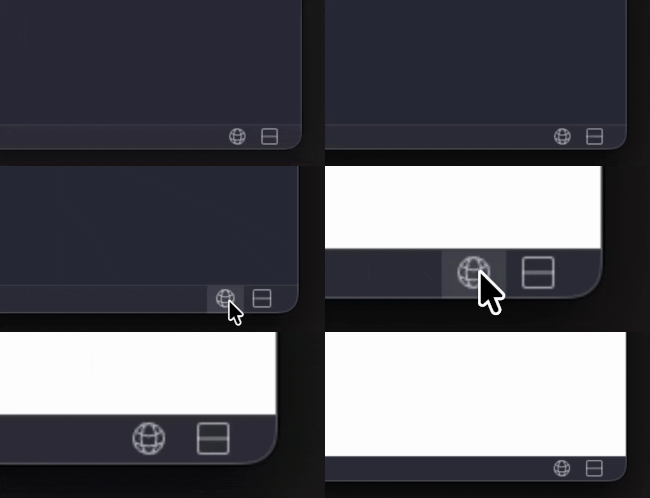
It's available when the tab uses the Browser & Node.js or Browser runtime environment. Tabs running under Node.js have no DOM to render, so the toggle is hidden.
The web view and the output console are separate tiles in the output pane. You can show both at once and drag their tile headers to rearrange them.
The page your code runs in
Your code runs inside a minimal HTML page:
<body>
  <div id="root"></div>
</body>
#root is there by default, so React and other libraries that expect a mount point run their standard examples unchanged.
Creating elements
With document.createElement
Build an element, set its properties, and append it:
const box = document.createElement('div')
box.textContent = 'Hello from RunJS'

document.body.appendChild(box)
This is the approach to reach for when you need a reference to the element afterwards, to attach an event listener or update it from a loop:
const button = document.createElement('button')
button.textContent = 'Click me'
button.addEventListener('click', () => {
  button.textContent = 'Clicked'
})

document.body.appendChild(button)
With a template string
For anything more than a couple of elements, writing the markup as a template string is usually quicker:
document.body.innerHTML = `
  <h1>Hello from RunJS</h1>
  <p>This is rendered in the web view.</p>
`
Mounting into #root
Because #root is already on the page, a standard React example works with no extra setup:
import { createRoot } from 'react-dom/client'

function App() {
  return <h1>Hello from RunJS</h1>
}

createRoot(document.getElementById('root')).render(<App />)
See the React guide for the language and package setup this needs.
Styling
The page has no stylesheet of its own, so the most direct way to style what you render is from JavaScript. Set properties on an element's style object, or assign a group of them at once:
const card = document.createElement('div')
card.textContent = 'Hello from RunJS'

Object.assign(card.style, {
  padding: '24px',
  borderRadius: '8px',
  background: 'rebeccapurple',
  color: 'white',
})

document.body.appendChild(card)
Once you have more than a few elements, or need pseudo-selectors and media queries, a CSS-in-JS library is a better fit. Install one from npm and use it as you would in a project. @emotion/css works with plain DOM code and returns a class name to apply:
import { css } from '@emotion/css'

const card = css`
  padding: 24px;
  border-radius: 8px;
  background: rebeccapurple;
  color: white;

  &:hover {
    background: hotpink;
  }
`

document.body.innerHTML = `<div class="${card}">Hello from RunJS</div>`
In React tabs, styled-components and @emotion/react work without configuration. See Styling with CSS-in-JS in the React guide.
A <style> block included in markup you render works as well. With a working directory set, you can also import a stylesheet from disk and RunJS will apply it to the page:
import './styles.css'